Technology
How to Create a Custom HTML Email Signature for Gmail
Alex de Pablos Lopez4 min
Do you want your emails to stand out with a unique, personalized signature? In this post, I’ll show you how to create an HTML email signature for Gmail that will help you make a great impression in your recipients’ inboxes.
Step 1: Design Your Signature
The first step is to design your signature. Design might not be everyone’s strength, so in my case, I simply asked chatGPT to suggest a decent design for me.
<div style="font-family: Arial, sans-serif; color: #333;">
<p style="margin-bottom: 0.5em;">
<img src="/images/archive/2021/10/alex-de-pablos.webp" width="96" height="96" style="border-radius: 50%;">
</p>
<h2 style="margin: 0; color: #007BFF;">Alex de Pablos</h2>
<p style="margin: 0.2em 0; color: #6C757D;">Un Informático S|ngular</p>
<p style="margin: 0.2em 0;"><b>Web</b>: <a href="https://alexdepablos.com" style="color: #007BFF; text-decoration: none;" target="_blank">alexdepablos.com</a></p>
<p style="margin: 0.2em 0;"><b>LinkedIn</b>: <a href="https://alexdepablos.com/linkedin" style="color: #007BFF; text-decoration: none;" target="_blank">Alex de Pablos</a></p>
<p style="margin: 0.2em 0;"><b>GitHub</b>: <a href="https://alexdepablos.com/github" style="color: #007BFF; text-decoration: none;" target="_blank">adpablos</a></p>
<p style="margin: 0.2em 0;"><b>GitLab</b>: <a href="https://alexdepablos.com/gitlab" style="color: #007BFF; text-decoration: none;" target="_blank">adpablos</a></p>
<p style="margin: 0.2em 0;"><b>Twitter</b>: <a href="https://alexdepablos.com/twitter" style="color: #007BFF; text-decoration: none;" target="_blank">@adpablos</a></p>
</div>You can customize this code to fit your needs.
Step 2: Install the Gmail HTML Editor Extension
To input HTML directly into our email, we’ll need a browser extension. I recommend using “Gmail HTML Editor”. You can install it from the Chrome Web Store (opens in a new tab).
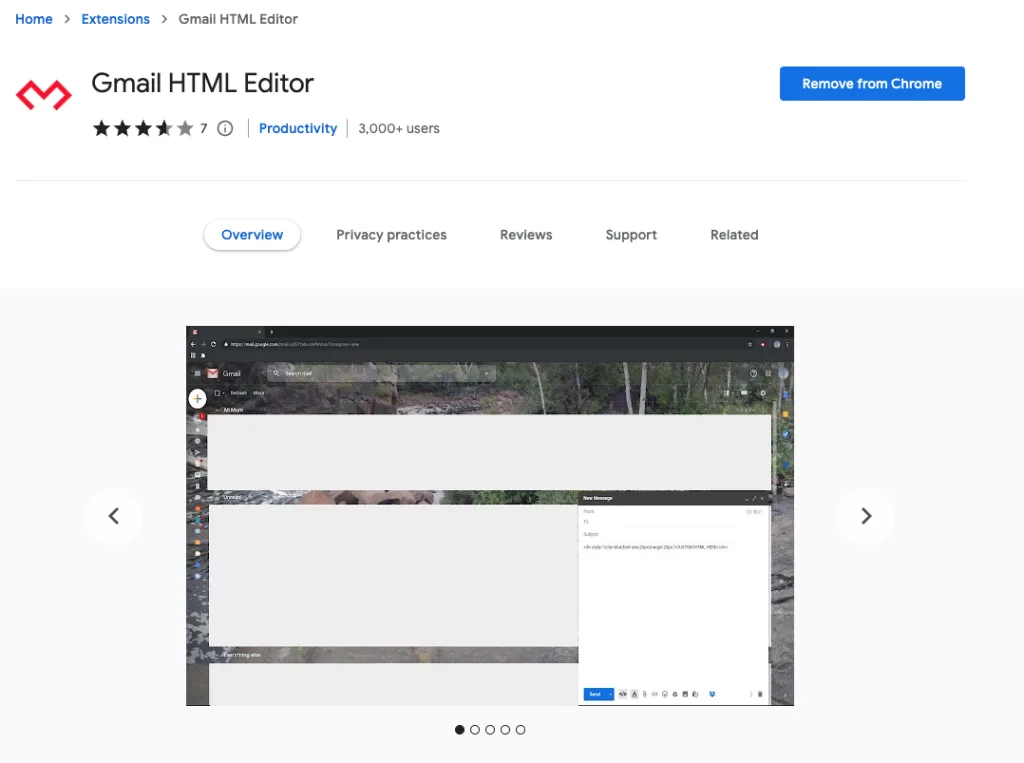
Once installed, reload your Gmail and you’ll be ready to use it.
Step 3: Prepare Gmail to Accept HTML
We are going to use the Gmail email editor to transform our HTML code into a format that Gmail can understand.
- Compose a new email in Gmail and click on the <> icon (provided by the extension we just installed) to switch to plain text editing mode.
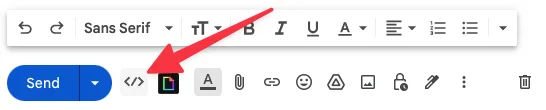
- Paste the HTML code of your signature into the body of the email.
- Switch back to rich text editing mode by clicking on the <> icon again.
- Now you should see your signature as it will appear in your emails, with all the HTML formatting applied.
Step 4: Add the Signature to Gmail
- Select and copy the already formatted signature.
- Go to Settings > See all settings > Signature.
- Create a new signature and paste what you’ve copied. It should retain the formatting.
- Make sure to select this new signature in the “Default signature” and “On replies and forwards” options if you wish.
- Finally, scroll down to the bottom of the page and click on “Save changes”.
Once you’re done, you can uninstall the “Gmail HTML Editor” extension if you prefer.
Signature Design Tips
Email signatures are an opportunity to establish a personal and professional brand and make a good impression. Here are some tips for designing an effective email signature:
- Relevant information: Include only the information you think is relevant to your recipients. This can include your name, title or profession, and contact methods. Avoid including too much information that might overwhelm recipients.
- Simple and clean design: Keep your design simple and clean. A complicated design can distract and make your signature hard to read. Use neutral colors and legible fonts.
- Consistency with your brand: Make sure your signature is consistent with your personal or business brand. This can include using the same colors, fonts, and logos.
Why Having a Custom Signature is Useful
Personalized email signatures are useful for several reasons:
- Professionalism: A well-designed email signature can help convey a more professional image.
- Facilitates communication: Provides recipients with an easy way to contact you or follow you on social media.
- Personal brand: It’s a way to establish and reinforce your personal brand.
Common Issues and Solutions
When trying to create an HTML signature in Gmail, you might run into some issues. Here are some common problems and how to solve them:
- Gmail doesn’t display HTML correctly: This could be because Gmail doesn’t support all HTML tags and styles. If this happens, try simplifying your HTML code and use inline styles instead of Cascading Style Sheets (CSS).
- Images don’t show up: This could be because the image URL is incorrect or the image is not available. Make sure the image URL is correct and the image is available at that URL.
How about your signature?
Have you created your own HTML email signature with this tutorial? We’d love to see it! Share your signature in the comments or email us if you have any questions.
And remember, if you’ve finished setting up your personalized HTML signature, you can uninstall the Gmail HTML Editor extension if you no longer need it. We hope this tutorial was helpful to you!