Technology
How to forward emails automatically using gmail
Alex de Pablos Lopez2 min
You may have ever encountered this situation, where you receive certain emails that you would like to always forward to another email in addition to yours.

In this short tutorial we are going to see how you can make this process fully automated.
You will never again forget to inform that other person who also needed to know what those emails said.
The other day I had to contract the gas for our next home. To do so, I registered online. All notifications would be sent to my email, which, obviously, was the one I used when creating the account.
Well, I am a bit too lazy for all these things, and usually delegate these things to my wife, who is much better off.
So … you know what I did, right? Yes, I followed the steps below to forward emails automatically.
Forward configuration
Click on the tools-wheel to access the configuration panel of your gmail.

And then in the option to see all the settings.
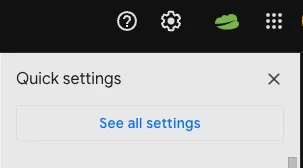
Once there, select the Forwarding and POP / IMAP menu and click the button to add a new email address

In the popup that will appear, you need to enter the email address to which you want to forward your emails.
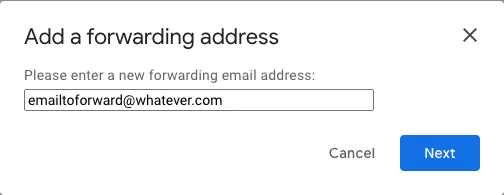
And once you click Next, this message will appear in a new browser window.
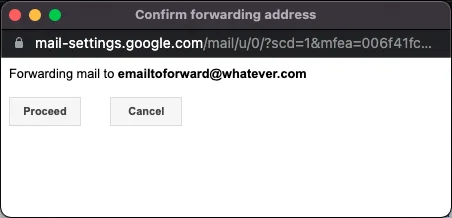
Click Proceed and at that moment you will have another popup in which you are informed that a code has been sent to that address to verify permissions.
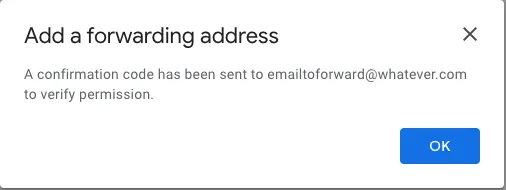
At that time you will need to speak with the person who manages that address, who will have received an email like the following:
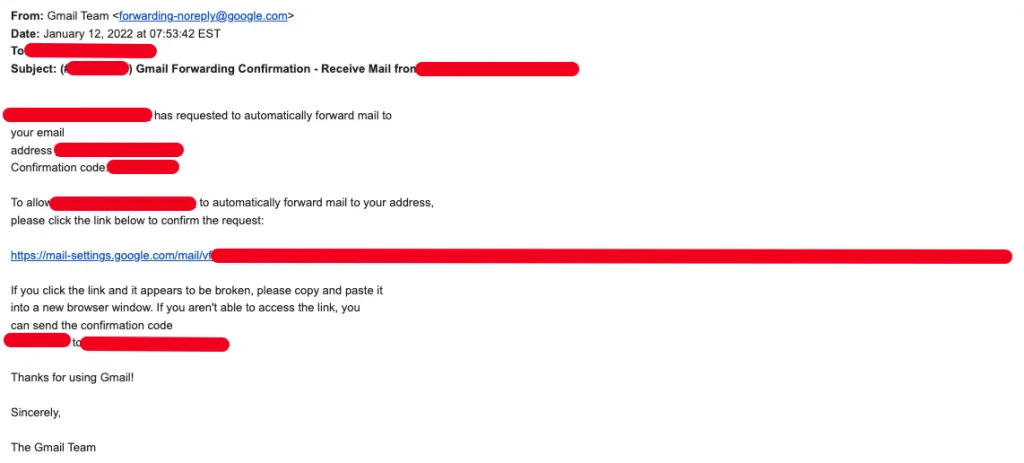
Once you have the code that has been sent to you in your hand, you will have to enter it in the input box.
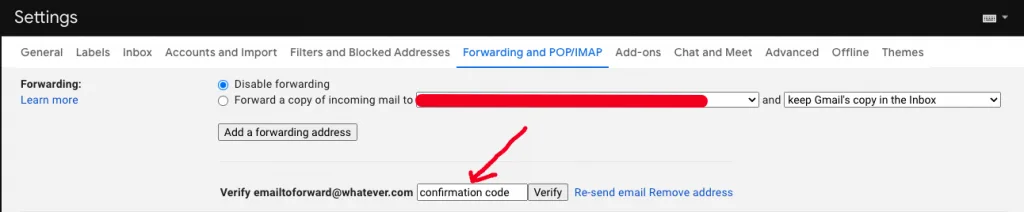
Now you have everything ready to be able to send emails to that address!
Create filter to forward mails
Now you only have to create the filter to tell gmail when you want to forward your emails to that new address you just added.
Again in the configuration panel of your gmail, this time you will click on Filters and blocked addresses. Once there, you will look for the link that says Create Filter at the bottom of the screen.
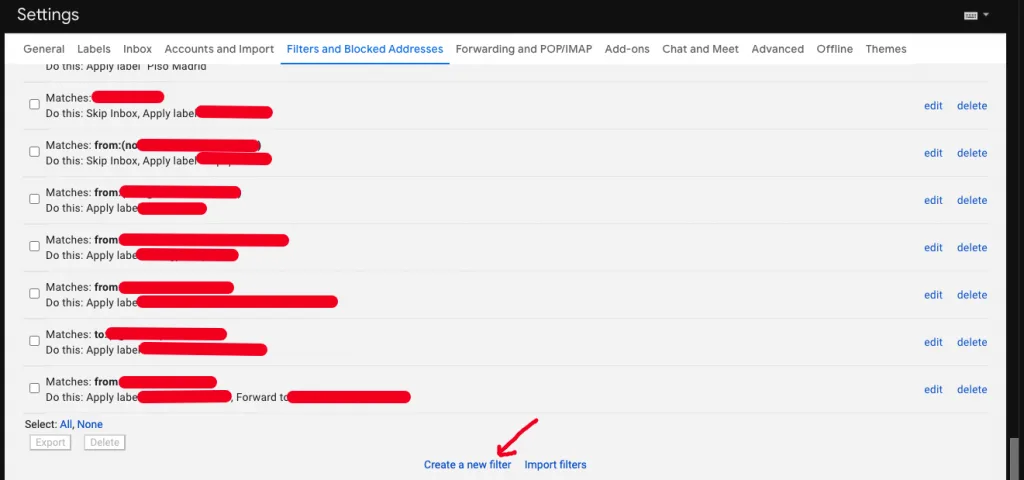
Continuing with the example of the gas company I mentioned before, I am going to show you how I would create the filter to forward all the emails I receive from them to my wife.
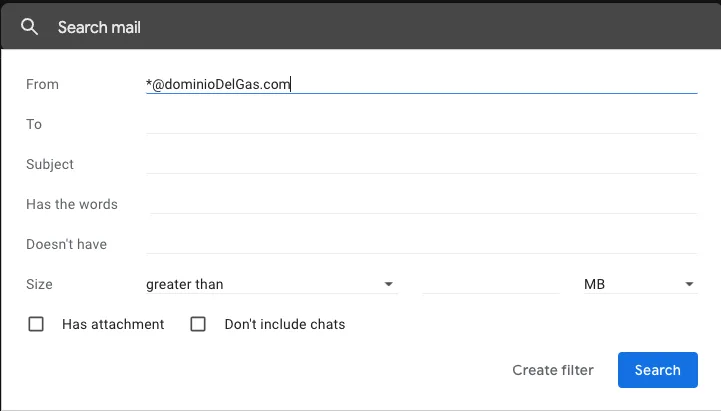
Click in Create filter and you will have a modal screen like the following:
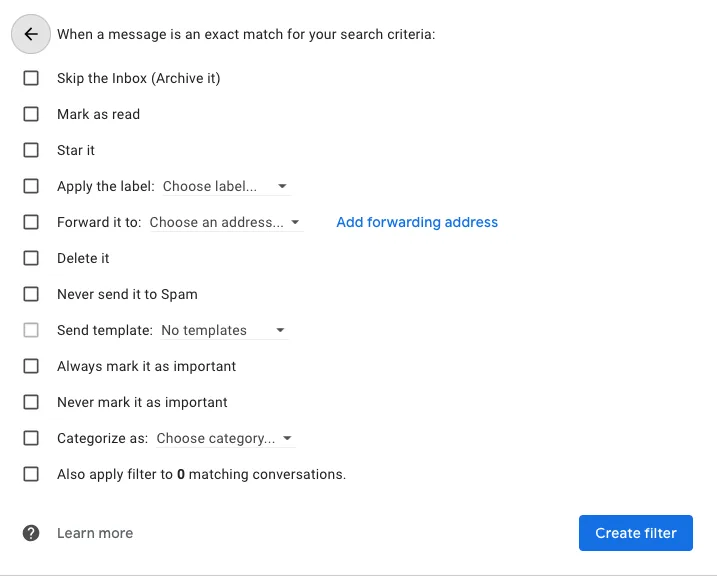
You will need to look at the option that says Forward to and in the drop-down you have to select the address that you just added previously.
Click Create filter and … Everything is ready so that the emails you receive from xxx@domaindelgas.com are automatically forwarded to the selected address!